RingCentral Setup (Administrator Steps) #
To enable RingCentral for the database, an admin user will first need to follow the one-time setup steps below, enabling the integration for all users.
Enable RingCentral Integration #
- Select System from the main menu.
- Select Add-Ons
- Choose Install Feature
- Enter the feature code ‘ringcentral’
- Choose Next and then Close.
Set Phone Configuration for Users #
Please note that this is a one-time step that must be enabled by an administrator.
- Select System from the main menu.
- Select Users
- Choose Manage Users
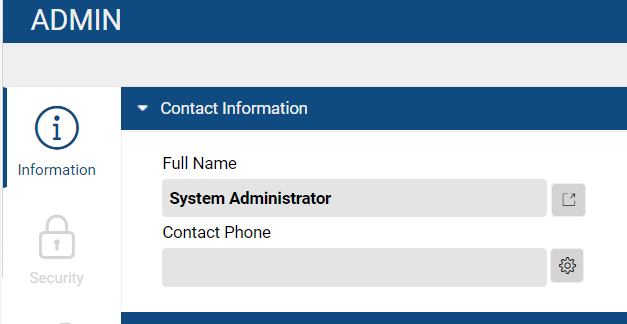
- Select the User Name you wish to enable RingCentral for.
- Select the Gear configuration icon next to the Contact Phone field.
- In the Telephone Settings panel, select RingCentral
- Enter the user’s direct number in the Phone Number and Direct Dial Number fields. The number must be entered in the +1 format as shown below. Do not add the extension.
- Set the User Phone Configuration dropdown to RingCentral App (unless using an IP Phone)
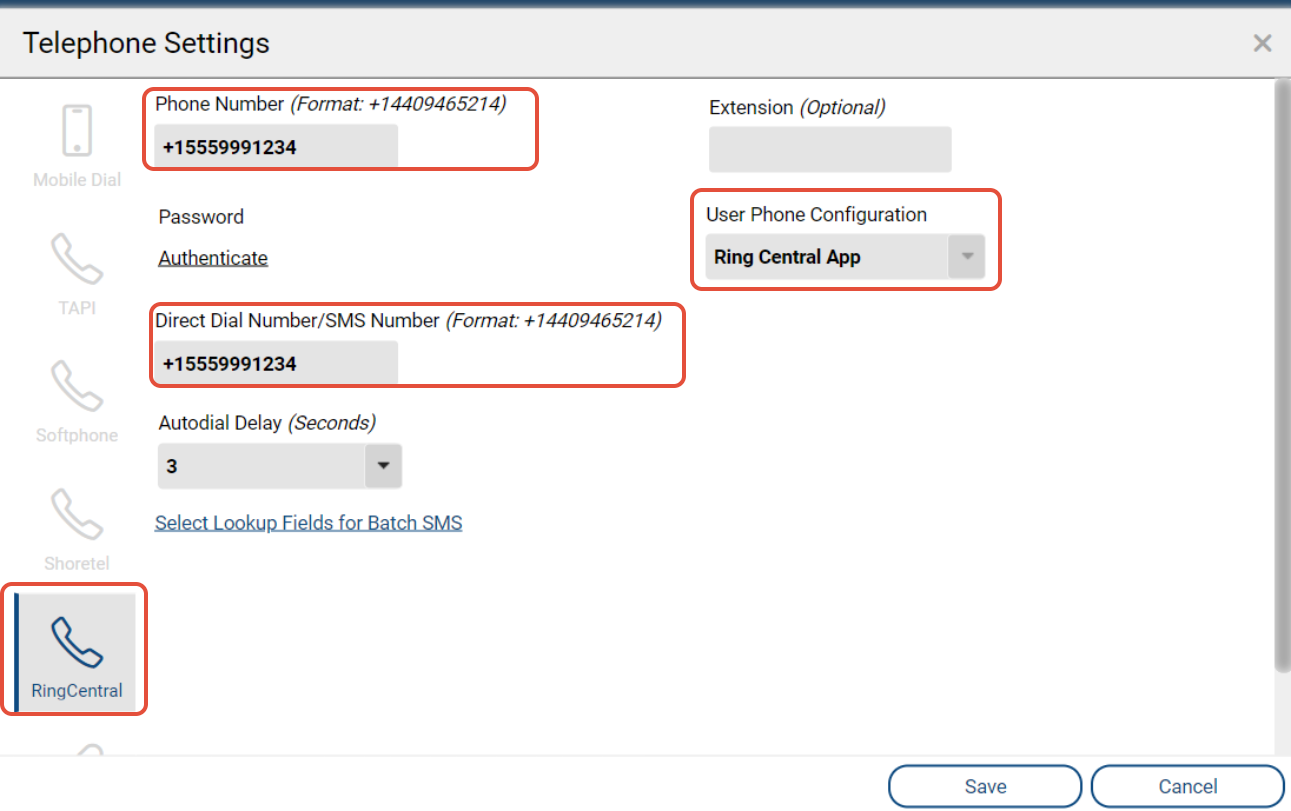
- Click Save.
- If you are setting up for yourself or have the person’s RingCentral password, you can click Authenticate to login to their RingCentral account to authorize the connection. Or, have the user follow the next set of steps for authenticating from the MyPCR screen.
RingCentral Setup (Steps for the User) #
Download the RingCentral app #
Each user who will be using RingCentral will need to download and install the RingCentral app:
- PC (Windows): https://app.ringcentral.com/download/RingCentral.exe
- Mac: https://app.ringcentral.com/download/RingCentral.pkg
- If not installed already, the user will also need the PCRecruiter Launcher and the Java Runtime Environment (Amazon Corretto)
Authenticating from the MyPCR Screen #
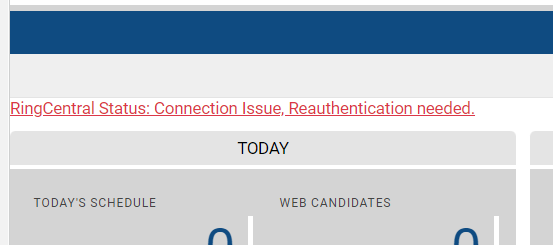
Once a user’s RingCentral settings have been entered by an administrator, the user can authenticate their account via the MyPCR screen
- Select MyPCR from the Main toolbar
- Select “You are not authenticated with RingCentral, click here to login.”
- Enter your Email or Phone number that is associated with your RingCentral account (or utilize one of their SSO options)
- Click Next
- Enter your RingCentral Password
- Click Sign In
- Click Authorize
Incoming Call Notification Setup #
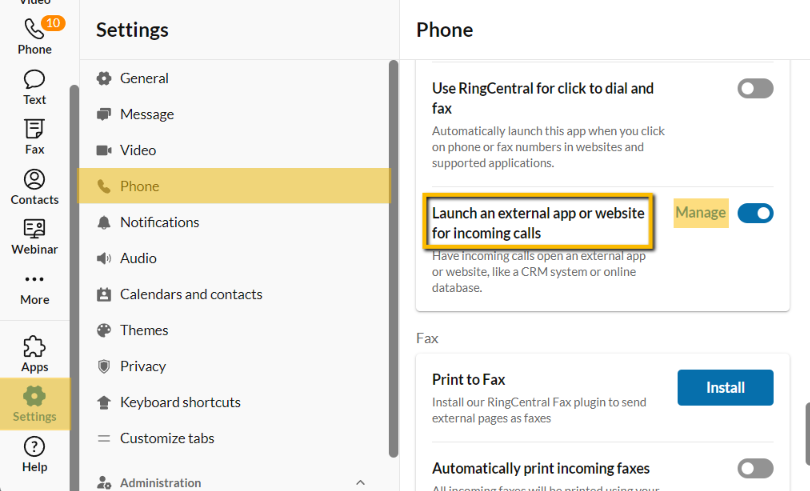
- Open your RingCentral app
- Click Settings
- Choose Phone
- Scroll down to the General section
- Enable ‘Launch an external app or website for incoming calls’
- Click Manage
In the ‘Enter command’ field, paste the statement below depending on your operating system. Be sure to copy and paste the text in full and remove any line-breaks.
Windows users, copy/paste the following:
"C:/Program Files (x86)/Main Sequence Technologies/PCRecruiter Launcher/ControlLoader.exe" "pcr:action=ringcentral&ver=latest&formattednumber=%P&lastname=%L&fullname=%N&firstname=%F&callednumber=%D&fullnumber=%C&standardizednumber=%E"
Mac users, copy/paste the following:
open "/Applications/pcrurl.app" "pcr:action=ringcentral&ver=latest&formattednumber=%P&lastname=%L&fullname=%N&firstname=%F&callednumber=%D&fullnumber=%C&standardizednumber=%E"
Note: Clicking the “Test” button next to the ‘Enter command’ field will have no visible result and should not be taken as an indication of correct entry. Simply pasting in the correct command line given above should suffice.
Windows Notifications Configuration #
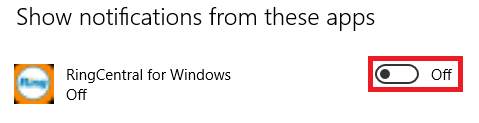
You may find that the default Windows notifications interfere with the PCRecruiter caller ID popup. To correct this, you will need to open the ‘Notification Area Icons’ option in the Windows Control Panel. Set the RingCentral option to “Hide icon and notifications.”
Using RingCentral in PCRecruiter #
Texting/Dialing #
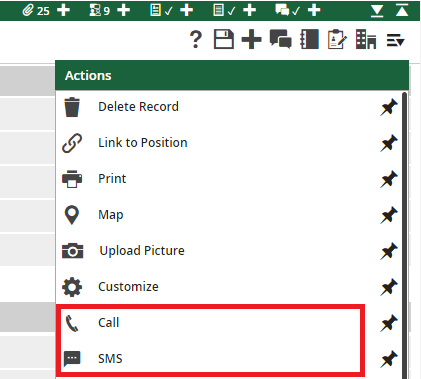
You will find ‘Call’ and ‘SMS’ icons in the Action menu at the upper right corner of name, company, and job records.
You will also see ‘Call’ and ‘SMS’ icons when activating any phone field within a record.

Incoming Call Notification #

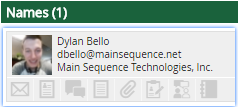
A Notification will appear in the bottom right corner of your window when there is an incoming call. If multiple records matching the phone number exist, the record with the most recent activity will appear. If the phone number is found on both Names and Companies, the Company record will be favored in the popup.
Clicking on the notification will launch a window with the matching records. The top three will be shown (in order of most recent activity) and the ‘More Records’ option will show additional items up to a maximum of 50 per record type. The << icon will collapse the sidebar to increase screen space if needed. If no records match, the option to add a new record will be presented.
Activities #
PCRecruiter will log activities for all text and voice communications made through your RingCentral account.
- Activity Type: INBOUND
- Result Codes: MISSED, RECEIVED, VOICEMAIL
- Activity Type: OUTBOUND
- Result Codes: CONNECTED, NO CONNECT
- Activity Type: SMS
- Result Codes: Inbound, Outbound
Activities are created on a periodic sync with RingCentral’s servers and may not appear in your database immediately.