Table of Contents
The following steps will discuss sending interview confirmation letters. You can choose to use a template or manually create your letter. If you would like to use a template, click here to learn how.
Sending from the Pipeline #
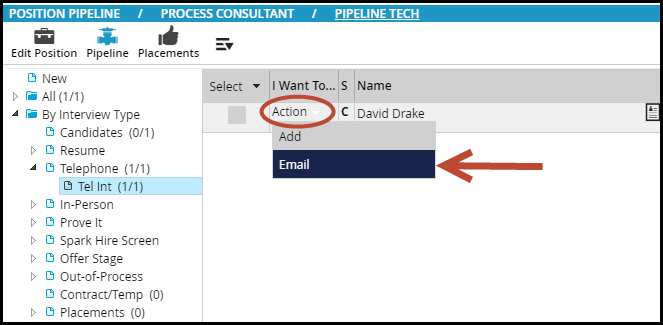
- Access the position pipeline from the action menu
- For the desired candidate, choose Action followed by Email. Click here to learn how to link candidates to a pipeline.
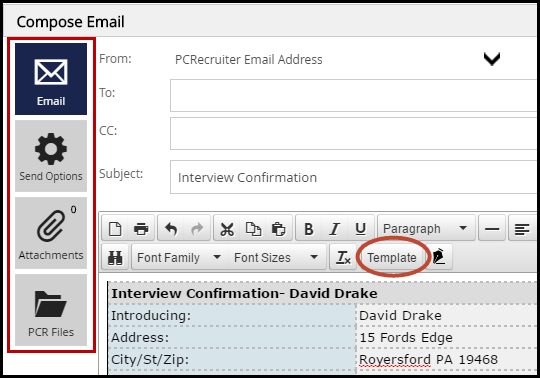
- This loads your default pipeline email template. You can click the ‘Template’ option above the body of the email to choose a custom template. You may also choose to clear the template and compose a new letter free form. Learn how to create Pipeline Emails here.
- Choose any additional settings
- Use email to compose your email, enter your subject and complete your To/CC/BCC
- Use send options to send as a meeting request, request a return receipt, and choose a level of importance. You can also choose to include a Feedback link, mark as private email, or combine all attachments into a single PDF document. The final option here allows you to send this email to a rollup list by selecting that rollup from the dropdown
- Attachments allows you to add files stored locally on your machine.
- PCR Files allows you to choose global, name, position, or company attachments related to the record. Note: the candidates resume (blinded if available) will be selected by default.
- Select Send to send your email
Sending from the Interview #
- Access the position pipeline from the action menu
- For the desired candidate, choose Action followed by Add
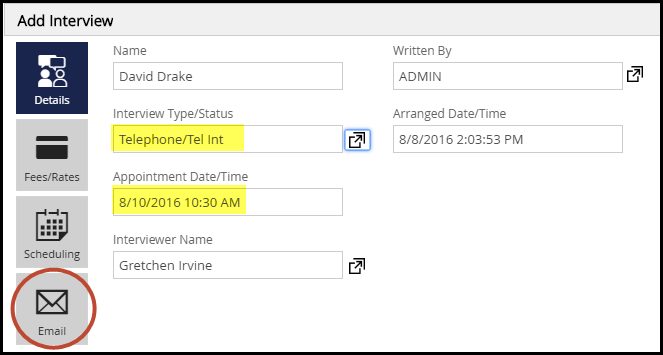
- Schedule your interview following standard procedure
- Select the Email charm
- Select the option for Send Email (The email will not send otherwise)
- Use the Email Template dropdown to select the appropriate template
- If you would like to preview your email before sending do not select “Send Email,” after saving the interview you will have the ability to choose Email from the confirmation screen and manually send your email.
- Choose who you would like to receive this email; candidate, contact, and/or interviewers
- Select to Send as Meeting Request if desired.
- Save
