When placing a Contractor on Assignment in your database you can choose the Expenses which the Contractor can submit with their timesheet. These Expenses allow you to specify the types of expenses, pass through amounts, and more.
The starting point for this is choosing an Expense Template, so we will configure these first.
- Click System from the Main Toolbar
- Click Timesheets
- Click Timesheet Expenses
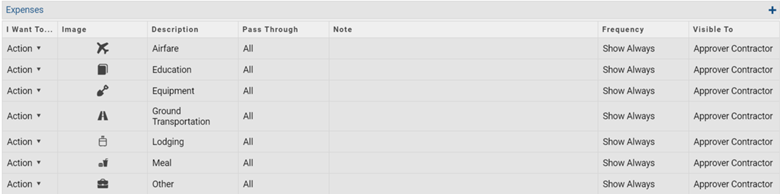
Here you will see a list of default Expenses. This default Template can be modified here, and it can also be modified per assignment (which we will cover when Placing a Contractor on Assignment)
Add an Expense Template #
You can create as many Templates as you desire, when placing the Contractor on Assignment you will choose which template to apply.
- Click the “+” icon to add
- Enter a Template Name
- Choose a template to copy expenses from as a starting point if desired
- Click Save
Your new template is now displayed. If you did not choose to copy from a template, you will just see a blank template, if you did choose to copy, you will see those Expense Categories here.
Delete an Expense Template #
Any custom Expense Templates can be deleted if you no longer have a need for them. However, the Default Template cannot be deleted. To delete a template:
- Choose the Template from the dropdown
- Click the Delete Icon
- Confirm by clicking Ok
Add an Expense Category #
Expense Categories can be added as desired to the Default Template or any Custom Templates.
- Choose the “+” icon in the top right corner
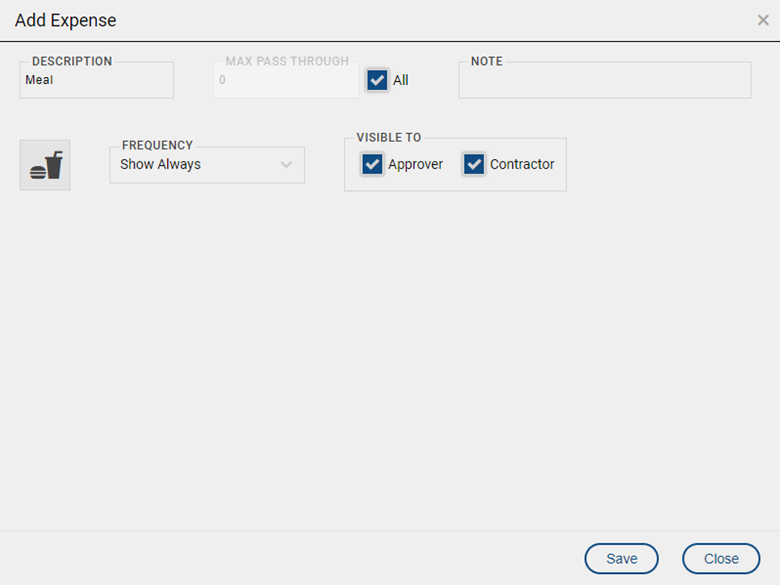
- Enter the Expense Details
- Description: The description of this Expense that will display during the Timesheet submittal process
- Max Pass Through: Use this area to define how much of the expense entered by the Contractor gets passed on to the Client. When billing reports are generated, the amount is billed to the client and calculated in the Gross Margin Calculator. There are three options when entering:
- Leave this field blank: The Contractor can enter an amount, but it will not be passed through to the Client.
- Enter a set amount: Any amount entered by the Contractor, up to the specified amount, will be passed through to the Client
- Check “All”: Any amount entered by the Contractor will be passed through to the Client
- Note: Can be entered as an additional note for the Contractor to view, or entered by the Contractor when submitting their Timesheet.
- Icon: An image used to identify the Expense
- Frequency: Number of occurrences during a period
- Visible To: Choose who can see and add expenses (Contractor and/or Approver)
Delete an Expense Category #
Once an Expense Category is Deleted, it will no longer appear when Placing a Contractor on Assignment
- Locate the Expense Category you would like to Delete
- Click Action
- Click Delete
- Confirm by clicking Ok
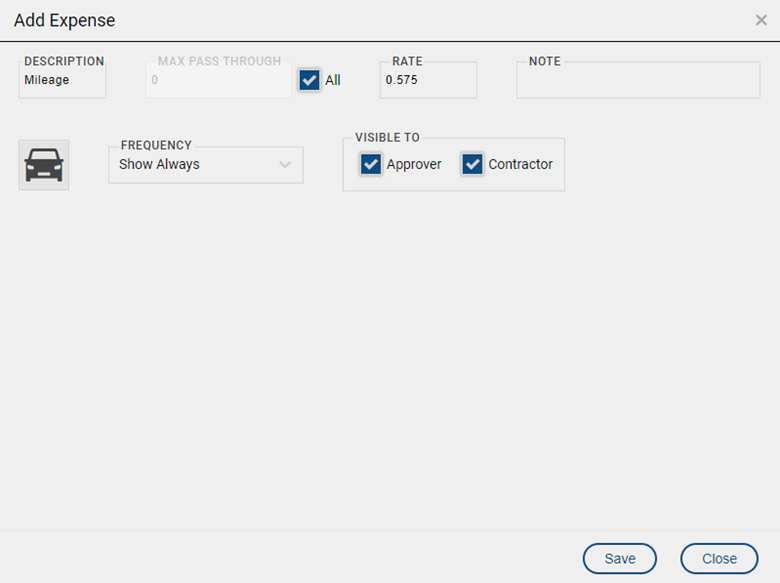
Timesheet Rate Expenses #
Timesheet Rate Expenses are very similar to Expense Categories. The difference is you will be entering a Rate, and the Contractor will be entering the number of expenses at that rate. For instance, mileage could have a rate of .575, the contractor would then enter the number of miles while submitting their timesheet.
- Select System from the Main Toolbar
- Click Timesheets
- Click Timesheet Rate Expenses
- Add Expenses and Templates just as you did in the last steps. The only difference is you must also enter a Rate When the Contractor chooses this expense, they will enter a quantity at the entered Rate.
- Click Save when finished.