Table of Contents
Linking Candidates to the Pipeline #
Once a Candidate has been identified as a potential Candidate for a position, you will want to link them to the Pipeline for that Position.
Individually from a Name Record #
- Select Name from the Main Toolbar
- Select a Name from the Recently Viewed Name Cards or select a Name from a Search Result List
- Choose Link to Position from the Action Toolbar
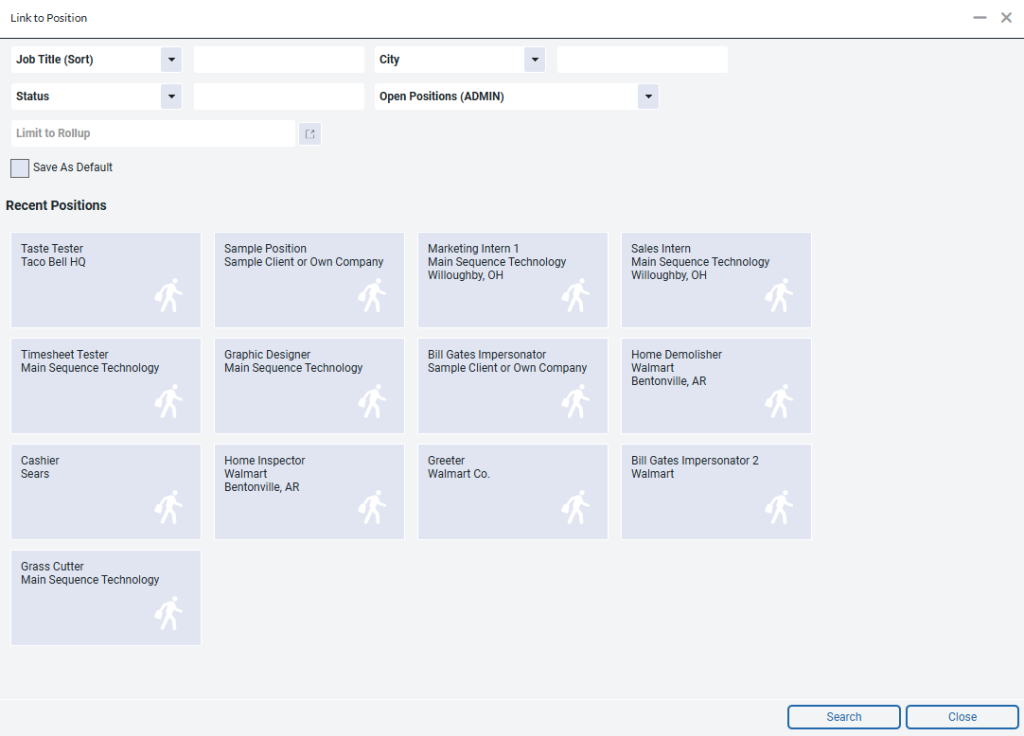
- From the dialog window you will choose the Position you wish to Link them to:
- Select a Position from the Recent Positions and the Name will automatically become Linked.
- If you don’t see the Position you are looking for, enter your Search Criteria to find the Position. Click Search at the bottom of the screen. Once you are viewing the Search Results, place a checkmark to the left of the position(s) you wish to Link the Candidate to and then choose Link Items.
- A confirmation screen will appear confirming that the Name has been Linked. If they were already linked to the Position, you will see that the Name Already Existed.
From a Name Search Result Screen #
One way to Link multiple Name Records to a Pipeline is via a Name Search Result List
- Select Name from the Main Toolbar
- Enter your search criteria and click Search
- Place check marks in the boxes to the left of the Names you wish to Link
- Click Link to Position from the Action Toolbar
- The selection dialog window will appear, choose the position you wish to link following the same steps as when Linking an individual Name
- A confirmation screen will appear once all Names have been Linked. If any of the Names were already Linked to the Pipeline, they will be skipped.
From a Rollup List #
Linking to a Pipeline from a Rollup List if very similar to Linking from the Search Results. Be sure to have a Rollup List created to follow these steps.
- Select Rollups from the Main Toolbar
- Select the Rollup List you wish to Link Names from
- Place check marks in the boxes to the left of the Names you wish to Link
- Choose the Link to Position option from the Action Menu
- The selection dialog window will appear, choose the position you wish to link following the same steps as when Linking an individual Name
- A confirmation screen will appear once all Names have been Linked. If any of the Names were already Linked to the Pipeline, they will be skipped.
From the Pipeline #
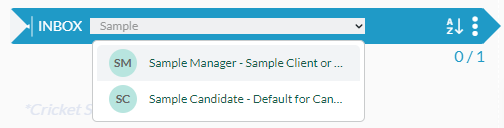
While working in the Pipeline itself, you can use the search box on the Inbox column to find and add candidates by name.
- Select Position from the Main Toolbar.
- Click Pipeline in the navigation menu on the Position.
- Expand the Inbox column, if not already expanded.
- Begin typing the First and/or Last Name of the desired candidate into the “Search To Add To Pipeline” box.
- When the desired candidate appears, select them from the result dropdown to add them to the Pipeline Inbox.