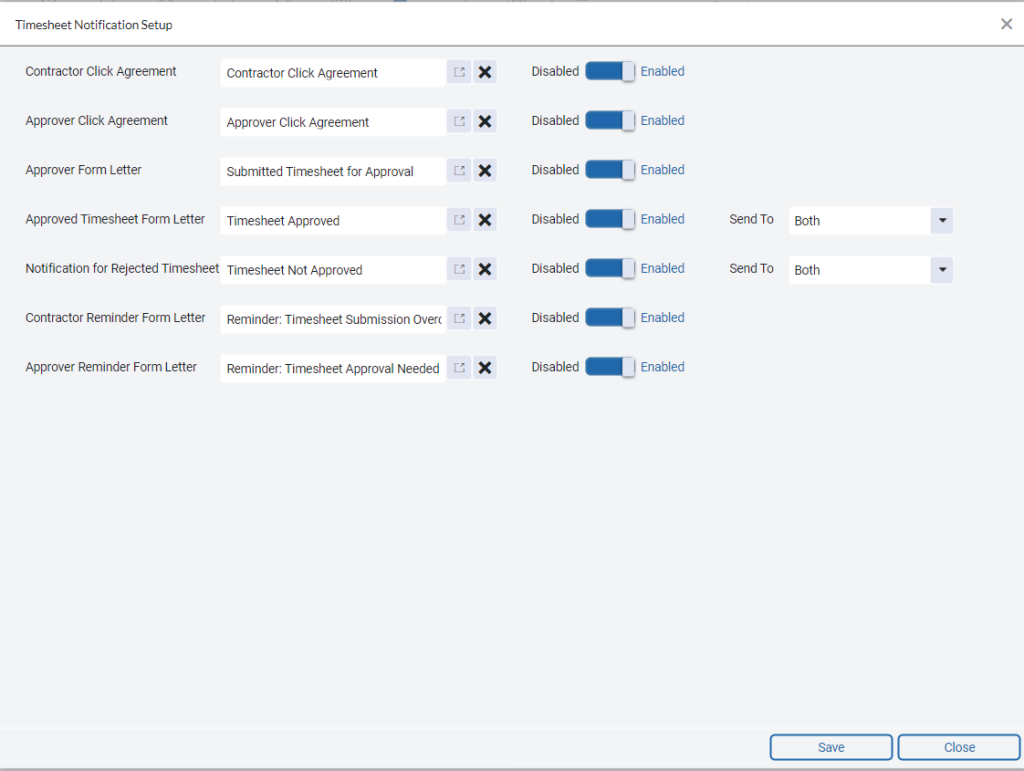
PCRecruiter Timesheet Notifications allow you to define custom content for emails and notifications related to timesheet activities. These notifications require the creation of Timesheet Letters, which are then assigned within the Timesheet Notification Setup based on the specific action.
We will start by covering how to create and customize the Mobile App Invite, followed by other Timesheet Letters used for various notifications.
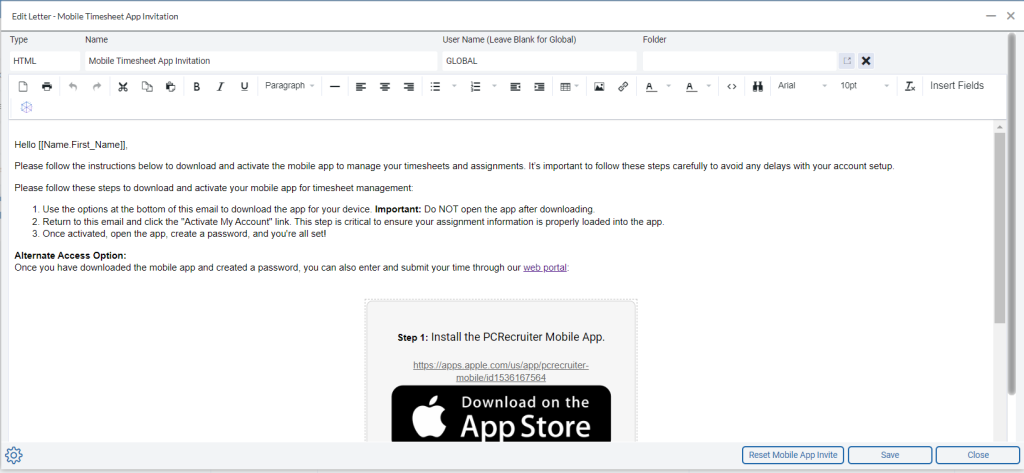
Creating the Mobile App Invite Letter #
The Mobile Timesheet App Invitation Letter is used to invite contractors to submit their timesheets via the app. If this step is skipped, the system will automatically send the default invite. Note: Only one Mobile Timesheet App Invitation can exist in your database.
To create the Mobile App Invitation Letter:
- Select System from the Main Toolbar.
- Click Form Letters.
- Select Timesheet Form Letters.
- If you already have a Mobile Timesheet App Invitation Letter, click Action, then Edit. If you do not find this letter, click Add Letter and select Mobile App Invite.
- Clear the Username field to save the letter as GLOBAL.
Tip: If your database contains many Timesheet Letters, you can assign a Folder to organize them (optional). - The email will now display the instructions for accessing the mobile app. Important: There are three critical links in this email (Apple Store, Google Play Store, and Activate My Account). These links must remain intact but you can add custom content.
- You can include merge fields to populate data for the candidate or assignment.
- Clearly instruct contractors to download the app but not open it until they return to the email and click the Activate My Account link. This is crucial because activation loads the contractor’s assignment data into the app. If they open the app without activating, they will need to delete and reinstall the app.
- Once the contractor downloads the app and activates their account, they will be prompted to set up a password. After this, they can also use the web version. Administrators can find the web version link in System > Web Extensions Classic > PCR Website Links. The link is labeled Contractor Hour Collection (Stand Alone) Ver 2.0
- Click Save.
Notification Types and Sample Timesheet Letters #
Once the Mobile App Invite is set up, the next step is to create Timesheet Letters for various notifications related to timesheets, including approvals and reminders. Before diving into the creation process, it’s helpful to understand the available notification types and see examples of their content. After reviewing this information, you can proceed to create the timesheet letters and assign them to the appropriate timesheet notification type.
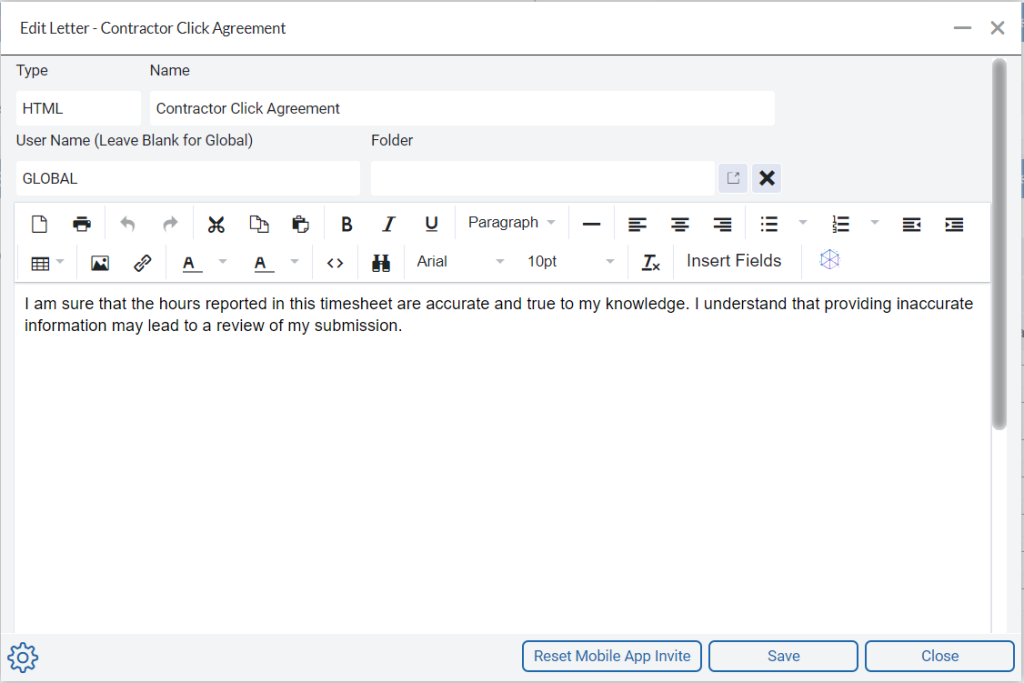
Contractor Click Agreement #
Text displayed during the timesheet submission process (Insert Fields cannot be used).
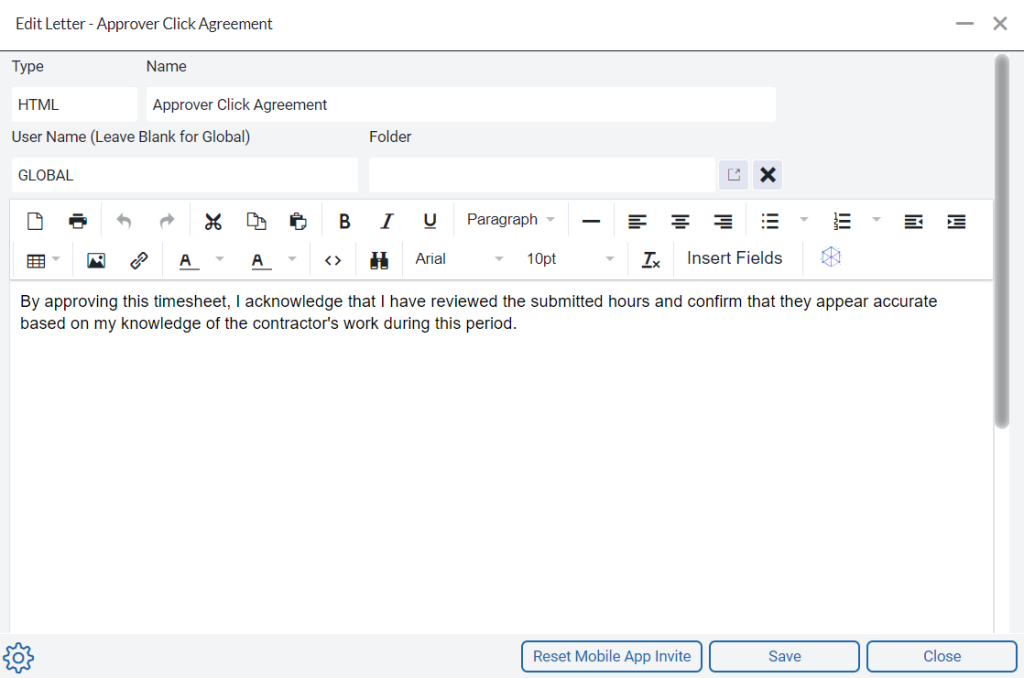
Approver Click Agreement #
Text displayed during the approval process (Insert Fields cannot be used).
Approver Form Letter #
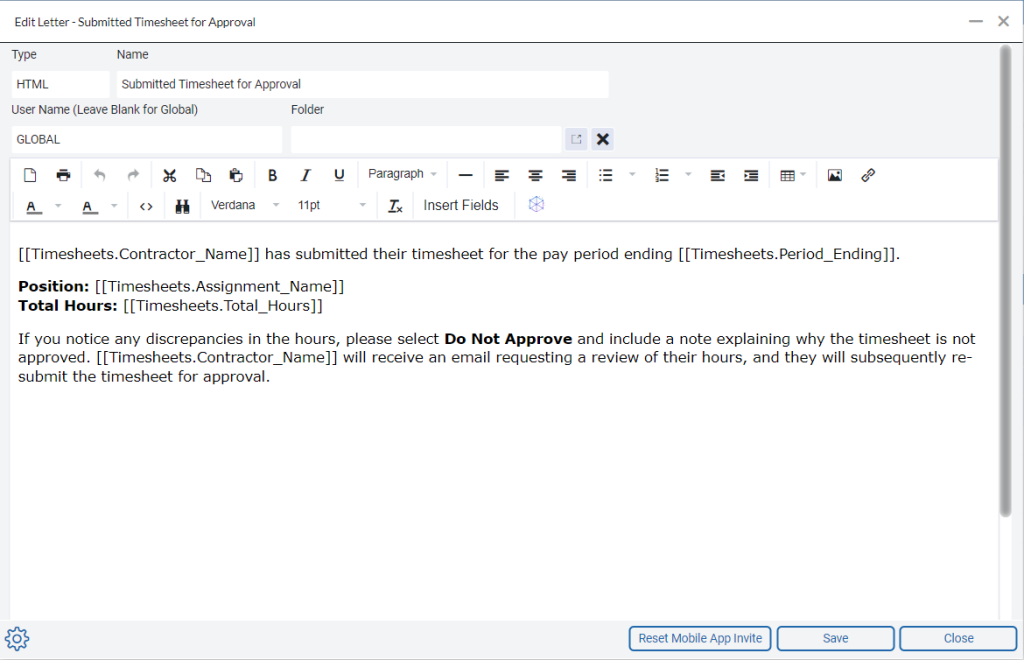
This letter is automatically sent to the approver(s) when a contractor submits a timesheet for approval. The email will have the subject line “Approve Hours,” regardless of the letter’s name.
Approved Timesheet Form Letter #
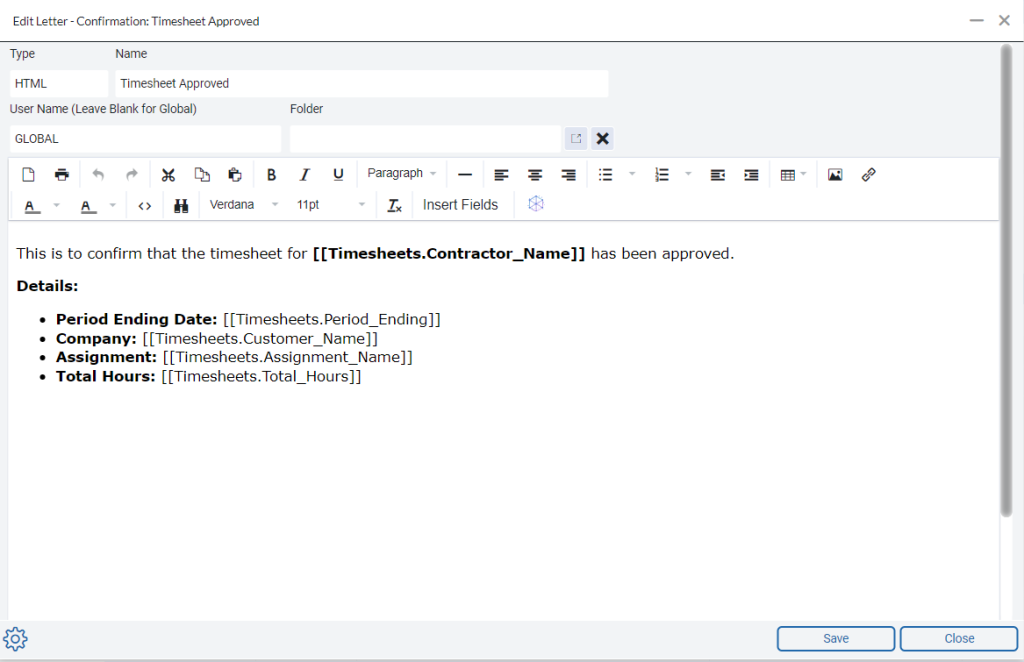
Notifies the contractor and/or the recruiter when the timesheet is approved. The email will have the subject line “Hours Approved,” regardless of the letter’s name.
Notification for Rejected Timesheet #
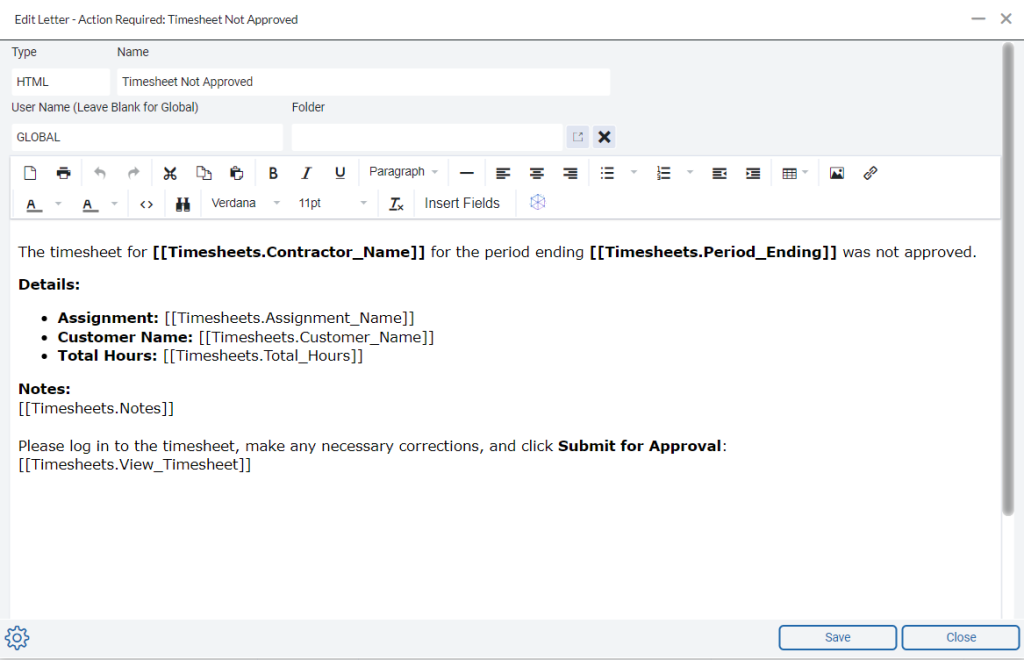
Sent automatically when an approver rejects a contractor’s timesheet, notifying the contractor and/or the recruiter. The email will have the subject line “Please Review Hours,” regardless of the letter’s name.
Contractor Reminder Form Letter #
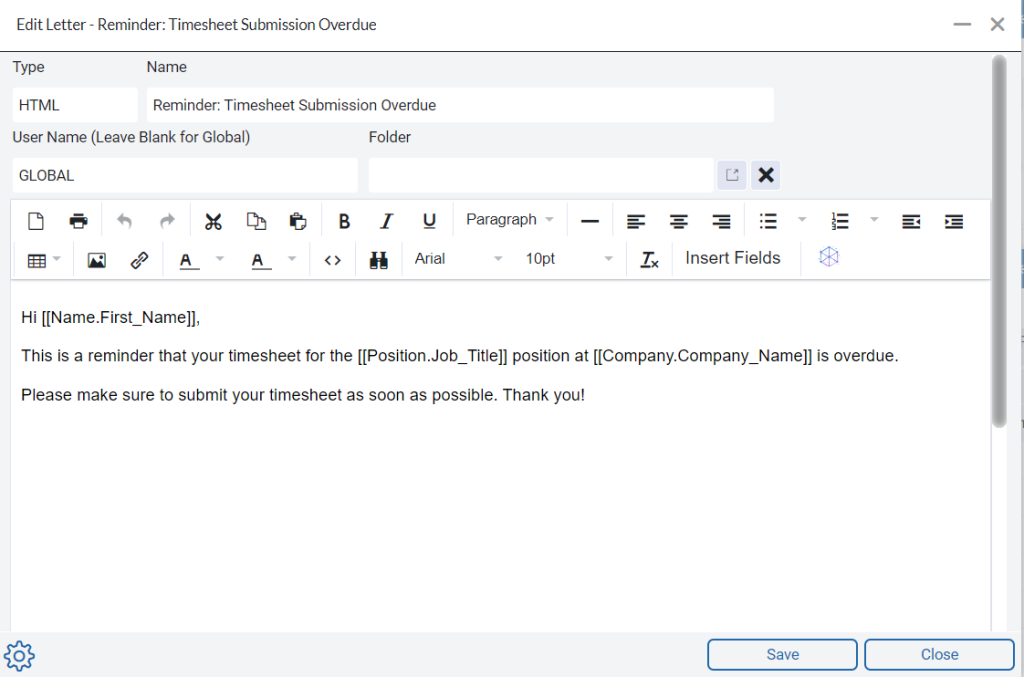
Used to remind contractors to submit their hours, either individually or in bulk. It can include contractor and assignment details, but timesheet-specific fields should not be used, as the contractor may not have started their timesheet yet, and no data would be available for merging.
Approver Reminder Form Letter #
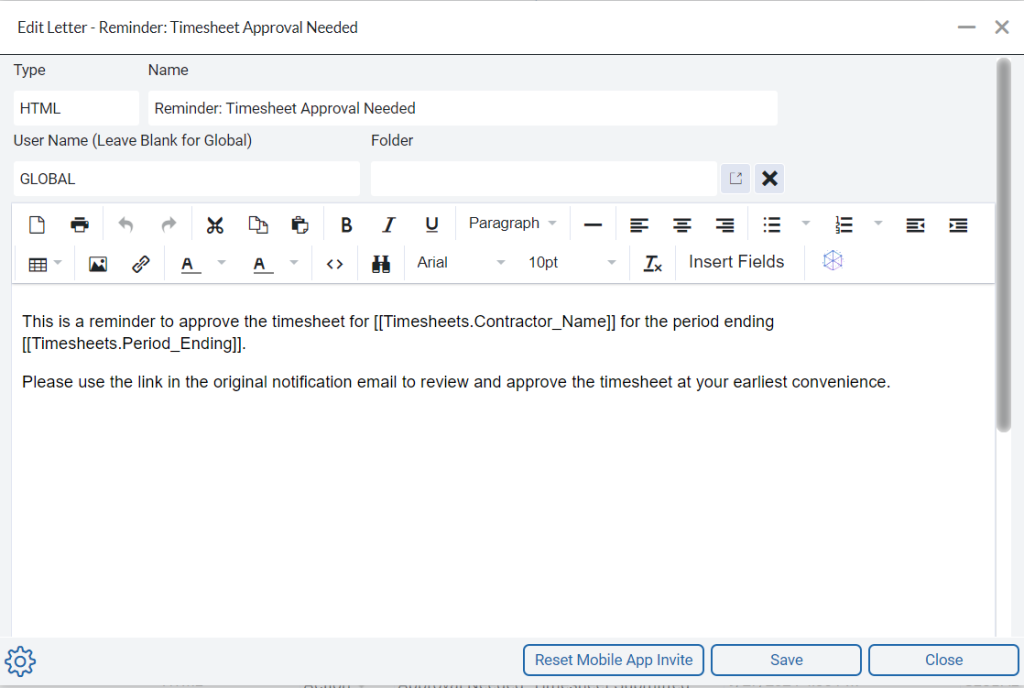
Used to remind approvers to approve any pending timesheets submitted by contractors. It can be sent either individually or in bulk to all approvers with timesheets awaiting approval. You may include contractor names, assignment details, and relevant timesheet information.
Creating Timesheet Letters for Notifications #
To create Timesheet Letters:
- Select System from the Main Toolbar.
- Click Form Letters.
- Select Timesheet Letters.
- Click Add Letter.
- Enter a Name for your Letter.
- Clear the User Name field. Upon saving, it will display as ‘GLOBAL,’ which is necessary because timesheet letters are generated automatically and are not user-specific. Organizing your letters into folders is optional.
- Customize the email body. Use the Insert Fields option to include:
- Contractor Name
- Company
- Position
- Placement Details
- Timesheet Details (insert “Timesheets.View_Timesheet” to provide a direct link to the timesheet).
- Click Save when finished.
Selecting Timesheet Letters for Each Notification #
After creating the Timesheet Letters, you will assign them to the corresponding actions in the Timesheet Notification Setup.
To assign Timesheet Letters to notifications:
- Select System from the Main Toolbar.
- Click Timesheets.
- Choose Timesheet Notification Setup
- Use the popup selectors to assign each letter to its respective notification.
- Click Save.
