Table of Contents
Although there are some predefined fields, both required and optional, you can enhance your setup by creating custom fields. This allows you to tailor the Placement layout to capture specific placement details while organizing the fields for maximum efficiency.
Custom Placement Fields #
- Click on “System” in the main toolbar.
- Select “Custom Fields.”
- Choose “Placement Custom Fields.”
- Select ‘Add Custom Field’ from the actions menu.
- Enter your new field name
- Choose the Action (field type) you would like this field to have (No Action, Dropdown, Multi-Select Checkbox, etc.)
- Save your field.
- If you have chosen a field that requires options, choose Default Values and add your value selections.


Customize your Placement Screens #
The following steps will need to be followed to setup both Contract and Permanent Placement Screens
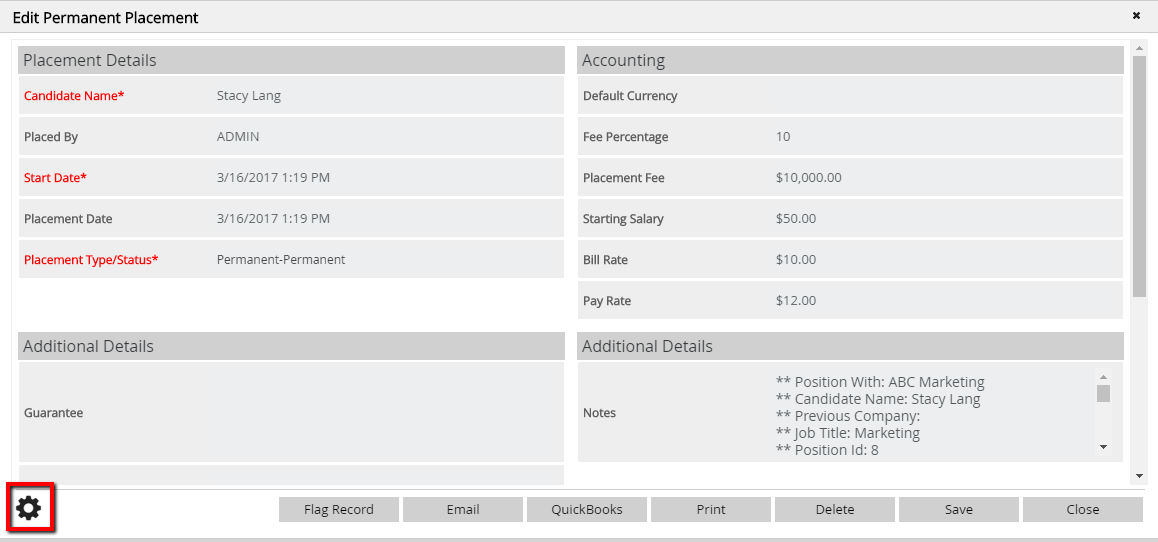
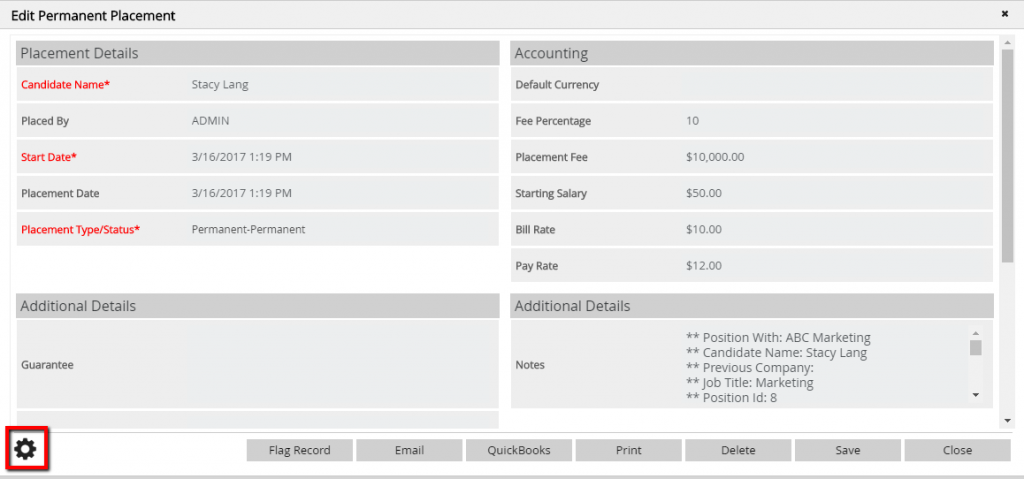
- Open an existing Placement record.
- Click the Customize Gear Icon in the bottom left corner to open the customization screen
- Use the Columns dropdown to specify the number of columns for your layout (we recommend 2 or 3).
- Create Groups to organize your predefined and custom fields. For example, set up a Billing group containing fields like Bill Rate and Pay Rate.
- Click on “Add Group.”
- Choose “Regular Group.”
- Name the Group
- Click “Done:”
- Within your groups, select “Click to Set Field” to access a dropdown of field to be added.
- To remove a field, select it and choose “Delete”
- Add Shortcuts which will display large boxes for Split Desk Distribution (if activated) and Scheduled Events.
- Click on “Add Group.”
- Choose “Shortcut.”
- Click “Done.”
- Click on the upper left corner of the Group and use the dropdown to specify what you would like shown.
- Add Horizontal Splitter to separate your groups evenly
- Select Add Group
- Choose Horizontal Splitter
- Done
- This bar can not be moved to the appropriate location through dragging and dropping
- Select Save when finished.