PCRecruiter for Gmail is our new all in one tool for using PCRecruiter without having to leave your Gmail account (within a Chrome browser)!
This tool will allow you to create Name Records the following ways:
- Manually
- Parsing from an Email Signature
- Parsing from Attachments
Once you have records in your database; either that have been added via the Add-On or have already been your database (Of course it will duplicate check!), you can interact with them:
- Modify field level data (With your own selected fields)
- Add Attachments
- Update Resumes
- View Existing Attachments
- Add and View Notes
- Add and View Activities – Including Scheduling
- Link to a Position and view other Positions they are already in
- Add to a Rollup and view Rollups they are already on
Setup
Downloading PCRecruiter for Gmail
First, you will need to open your Chrome Browser and install the Add-On. You can download it here. Simply choose Add and Confirm.
**Please note that it may take up to 24 hours to appear in your Gmail account**
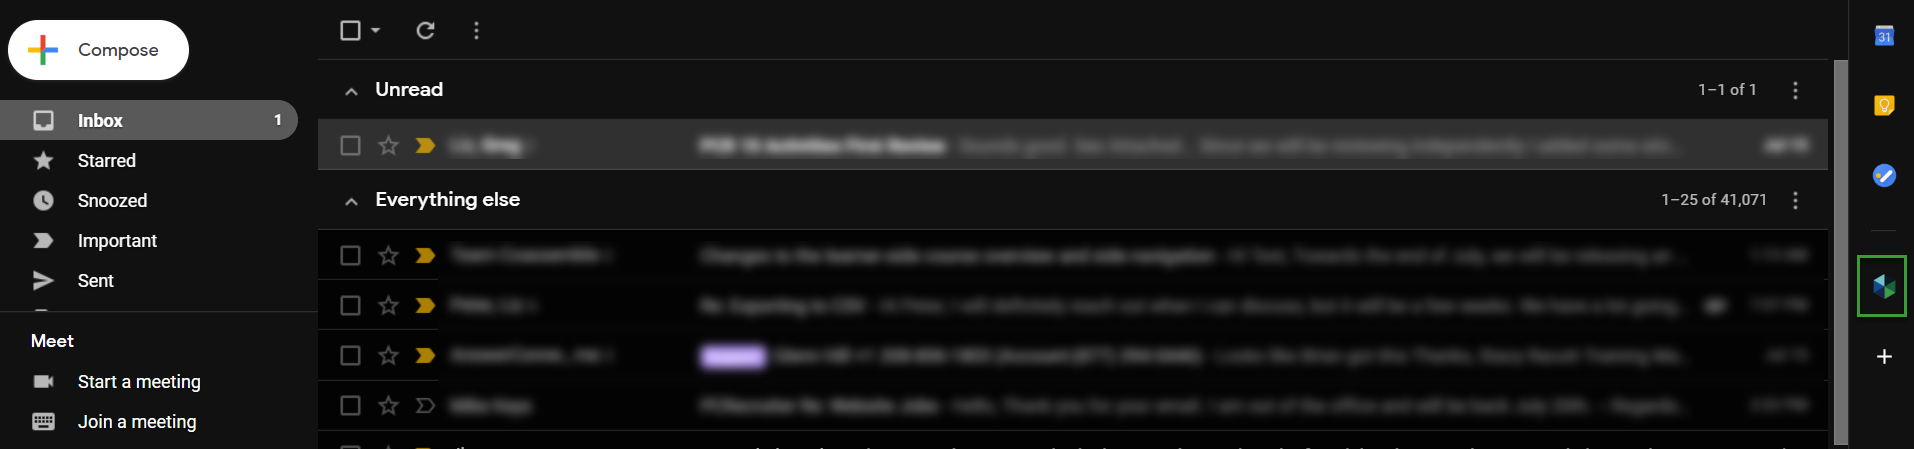
Once it has been added, you can find it on the right side of your Inbox.
Logging In
Now you will want to connect your new Add-On to your PCRecruiter Account
- Open Gmail
- Click the PCRecruiter Icon which now appears on the right side of your inbox.
- Paste your PCRecruiter url; the link you use to access PCR (If you are familiar with the PCRecruiter Capture tool, this will be the same url you used there and will look similar to this: https://www2.pcrecruiter.net/pcr.asp?uid=odbc.yourcompanyname)
- Click Login
- Click Begin Authorization
- Enter your PCRecruiter Username, Password and Choose the Database you would like to use from the dropdown.
- Click Allow Access
Adding Name Records
Now that you have installed the PCRecruiter Gmail Add-On you can now start adding Name Records to your database.
Manually Add Record
First, let’s open an email from a person we would like to add. We are going to manually enter the information for this person.
- Open an email from Gmail
- Note that the senders First and Last Name have been pulled into the Manually Add Record Section (you can also click into these fields to modify)
- Click Manually Add Record
- Enter record information manually
- Use the Status dropdown to select the records Status
- Begin typing the Company Name to Select the Company this person should be added to (this is searching the Company Records from your database, leaving this field blank will add the record to your Default Company)
- Continue entering information
- Click Add when Finished
You will now see the new Name Record you have created and can interact with (we will cover these feature further on)
Parse from Email Body/Signature
Now we will create a record from the Email body/Signature
- Open an Email from Gmail
- In the Create Record From section, choose Email body/signature
- Click Create
- You will see the information has been parsed, modify any of it prior to clicking Add
Parse Resume
Now we will create a record from a resume the sender has provided us.
- Open an email in Gmail that contains a Resume attachment
- In the Create Record From section, choose the Resume document you wish to parse
- Click Create
- Now you will see the parsed details
- Modify any fields
- Click Add
The record has now been added to PCR and the Resume can be found, as usual, in the resume section.
Manually Entering Different Records
If you would like to manually enter a record but you do not have a recent email from them, PCR has you covered! This allows you to add any Name Record without leaving the Gmail.
- Click the three dots to access the PCR Add-On Menu
- Click Create Name Record
- Enter the Record details
- Click Add when finished
Finding Name Records
Duplicate Checking
When utilizing the PCR Gmail Add-On the following predefined fields are used to duplicate check:
- Email Address
- Email Work
- Email Home
- Email Other
If a duplicate is detected the PCR Pane will immediately open to that record as seen below
However, if multiple records are found that match the duplicate criteria you will need to select which record you would like to interact with (Note: You will need to access PCR from your browser to merge the records if desired)
Name Search
If you do not have a recent email from a record you would like to access, you can also manually search for that person:
- Select the three dots to access the PCR Add-On Menu
- Click Search for Name Record
- Enter as much search criteria as desired
- Click Search
- Select the desired record from the results
Interacting with Records
Once you have entered a new Name Record or located an existing Name Record from any of the methods discussed above, you can now interact with the record without leaving Gmail.
Note: You will still need to access PCRecruiter through your usual methods for some advanced features.
Name Details
When viewing a Name Record in the PCR Pane you will see the fields you have populated on their record. Only the fields that are populated will display here, you will not see blank fields.
Detail Fields
By default the following fields will be displayed with adding and viewing name records:
- First Name
- Last Name
- Title
- Company Name
- Home, Work and Cell Phone
- Social Network Links
- City
- State
- Postal Code
You can customize these fields via the settings area:
- Click the three dots to open the PCR Add-On Menu
- Click Settings
- Scroll to Field Settings
- Click Remove for any fields you wish to remove from your view (Note: You cannot remove First Name, Last Name, Email Address, Status or Company Name)
- To add additional fields click Add
- Use the dropdown to choose the field you would like to add (You can choose from Predefined and Custom Fields)
- Click Add Field (The selected field will be added to the bottom of your current layout)
- Click Save – You will now see the field when adding/editing a name or working with a record that has the field populated
Note: If you are a Google Voice user you will be able to dial out via the phone icon to the right of a phone number.
Editing a Record
- To edit a record, select the Edit icon below their details
- Once you have completed editing, be sure to click Save.
Rollup Lists
From the PCRecruiter Pane you can add a name to a Rollup List and view any Rollup Lists that person is already on.
- Click the Rollup icon
- Type the first few letters of your Rollup List Name
- The list will be displayed as a Search Result
- Select the List
- Click Add to Rollup
- You will now see the Rollup list displayed below
- Clicking View will jump you to the full Rollup List in PCR.
Positions
You can also link Candidate’s to Positions and view Positions they are currently linked to.
- Click the Positions Icon
- Click Search for Position
- Enter your Search Criteria
- Click Search, the results will display below your search entry
- Click LINK for the position you wish to link them to
- Now, you are able to see the Name has been Linked as well as any other positions they are linked to. You can also see the Interview Type and Status they are currently in for each position.
Attachments
The Attachments Section allows users to Add an Attachment, Update the Resume, Create a Record, or View existing Attachments.
- Locate the Attachments Section
- Choose an Action Icon:
- Add Attachment: Shows a list of all attachments from the email you are viewing, choose all documents you would like to add to the records attachments area.
- Update Resume: Shows a list of all attachments from the email you are viewing, choose the file you would like to replace the current Resume With
- Create Candidate: Creates a brand new Name record from an attachment that has been sent (for instance if someone forwards you a resume)
- Click View PCR Attachments to see all of that records Attachments in PCR.
Notes
The Notes section will allow you to view existing Notes for the Name as well as add new Notes.
- Locate the Notes Section
- Click Add
- Enter your Note
- Click Save
- View the Note in the PCR Pane
Note: The number of Notes displayed in the PCR Pane is configurable by clicking the three dots followed by Settings. Additional Notes can be viewed by clicking View More Notes…
Activities
Lastly is the Activities section which will allow you to Add and View Activities
- Locate the Activities Section
- Click Add
- Enter your Activity and Follow Up details as if you were from the usual Add Activity Screen
- Click Submit when finished
- View Activity history from the PCR Pane
Note: The number of Activities displayed in the PCR Pane is configurable by clicking the three dots followed by Settings. Additional Activities can be viewed by clicking View More Activities…