Frames #
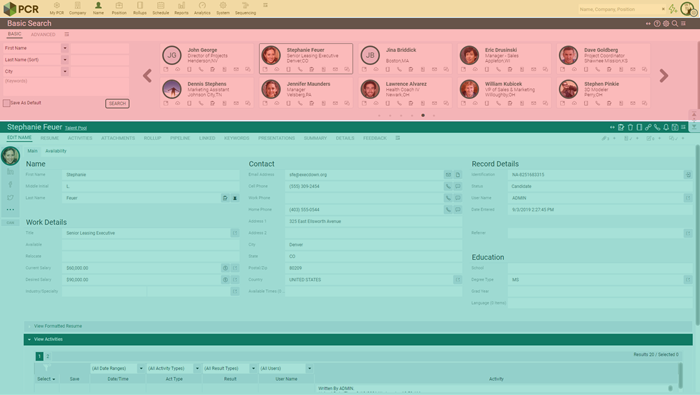
Once you have logged into PCRecruiter, you’ll find that the screen is divided into three sections or ‘frames’.
Main Menu – This area, found at the top of the window, contains the primary navigation for PCRecruiter, as well as the Quick Find, Add Wizard, and the User menu.
Navigation – The second frame generally contains search forms and results lists, sub-menus, and other navigation. This area will change as items in the Main Menu are selected.
Detail – The bottom frame will show the content of the record or other item selected in the Navigation frame.
Resizing Frames #
When you hover your mouse over the separation between the frames, a set of arrows like the one shown here will appear.

- Click the UP arrow to hide the Navigation panel and make the Detail panel scale to full-height.
- Click the DOWN arrow to hide the Detail panel and make the Navigation panel scale to full-height.
- Click the CENTER icon to return the frame divider to its previous position.
You can manually adjust the height ratio between the Navigation and Detail frames by clicking and dragging the edge of the bar that separates them.
Menus #
Many screens in PCRecruiter will have menu options in the top bar. These are generally divided into Navigation items which will open a different panel or area of the record, and Action items, which will trigger an event or task.

The Navigation menu is on the left side of the bar. The Action menu is typically on the right, however it can be shifted to the left (see ‘double-arrow icon’ in the Common Icons section below.)
Pinning and Un-Pinning Menu Items #
Within many of these menus, you can select the items you use the most and pin them so that they appear at all times without using the dropdown to access them. Menu items are always available via the dropdown, even when not pinned. Once an item is pinned, it will display a checkmark instead – click this to un-pin it. To re-arrange the order of your menu, un-pin all of the items and re-pin them in the desired order.
Sub-Menus #
Specific areas of PCRecruiter, such as Reports and System, will display a vertical sub-menu in the Navigation frame. These sub-menus have a ‘Search’ box at the top of the column that will help you locate items within that particular area, such as a specific report or database configuration screen.
Common Icons #
You will encounter these icons throughout PCRecruiter:
- The double-arrow icon will shift the Action menu from the right to the left of the screen. Some users with wider monitors prefer the smaller mouse movement between the Navigation and Action menus.
- The dropdown menu icon will show the entire selection of choices available for that menu, including those which are not pinned.
- Within a dropdown menu, the pushpin icon indicates an item that is only visible via the dropdown. Clicking on it will ‘pin’ the icon to the menu.
- Within a dropdown menu, the checkmark indicates an item that has already been pinned.Clicking on it will ‘un-pin’ the item from the menu.
- Gear icons always indicate some form of settings or customization area.
- Link icons generally indicate a connection between a candidate and a specific position.